
User Guide
This guide helps you create a modern, interactive, and professional travel guide in just a few simple steps.
📖 Table of contents
Getting started with Voyages Planner
Customize Voyages Planner to reflect your brand
Before creating a travel guide, start by customizing Voyages Planner to match your brand. This will offer a consistent and professional experience for your clients from their very first login.
-
Go to the “Profile” menu, then “Settings“.
-
Set up your business information:
-
Sender name for emails: displayed in emails sent to your clients.
-
Sender email address: used for communication with your clients.
-
Company name: shown on the platform and in travel guide.
-
-
Customize your visual identity:
-
Primary color: choose a color that reflects your brand.
-
Web platform logo
-
Mobile app logo
-
Banner image for the web homepage
-
Banner image for the app welcome screen
-
-
Personalize the homepage text:
-
Write a welcome message for your clients.
-
Adjust formatting: bold, italic, colors, font sizes.
-
Add links, images, or emojis to enhance the display.
-
📌 Click “Save” to apply all your customizations.
Create a complete Travel guide
Add a new client
-
Go to the “Admin interface” menu.
-
Click on “Create a new client”.
-
Fill in the following details: email, first name, and last name.
-
(Optional) Add one or more travel companions: click on “Add a companion” and enter their email, first name, and last name.
📌 Click “Confirm” to save.
💡 Edit or delete a client: in the “Admin interface” menu, click the three dots next to the client’s name to access the available options.
Create a trip on your client’s account
-
In the “Admin interface” menu, go to the “Clients” section.
-
Click on the relevant client to access the list of their trips.
-
Click on “Create a new trip”.
-
Enter the required details: trip name, number of travelers, country, departure and return dates, etc.
-
Add one or more custom fields. These fields allow you to:
-
Insert text, images, links, or emojis to enrich the content.
-
Customize formatting (e.g. bold, italic, columns).
-
📌 Click “Confirm” to save all your changes.
💡 Edit or delete a trip: go to the “Admin interface“ menu, click on the client, then use the three dots next to the relevant trip.
Add accommodations to the trip
-
In the “Admin Interface” menu, go to the “Clients” section.
-
Click on the relevant client to access their list of trips.
-
Select the relevant trip and click on “Create a new accommodation”.
-
Fill in the required details: accommodation name, address, country, check-in and check-out dates, etc.
-
Add one or more custom fields. These fields allow you to:
-
Insert text, images, links, or emojis to enrich the content.
-
Customize formatting (e.g., bold, italic, columns).
-
📌 Click “Confirm” to save the accommodation.
💡 Edit or delete an accommodation: in the “Admin interface“ menu, select the client, click on the trip, then use the three dots next to the accommodation.
Add an itinerary to the trip
-
In the “Admin Interface” menu, go to the “Clients” section.
-
Click on the relevant client to access their list of trips.
-
Select the relevant trip and click on “Create a new itinerary”.
-
Choose a format:
-
Upload an existing PDF file, or
-
Create a custom itinerary using the built-in editor.
-
-
If you use the editor:
-
Add content: text (e.g., step descriptions), images, links, or emojis.
-
Customize colors for each step, if needed.
-
Add saved templates: select from your library if you have pre-saved templates.
-
Format your content (bold, italic, columns, etc.).
-
📌 Click “Confirm” to save.
💡 Note: You can only create one itinerary per trip. To edit or delete, use the three dots next to the itinerary in the “Admin interface” menu.
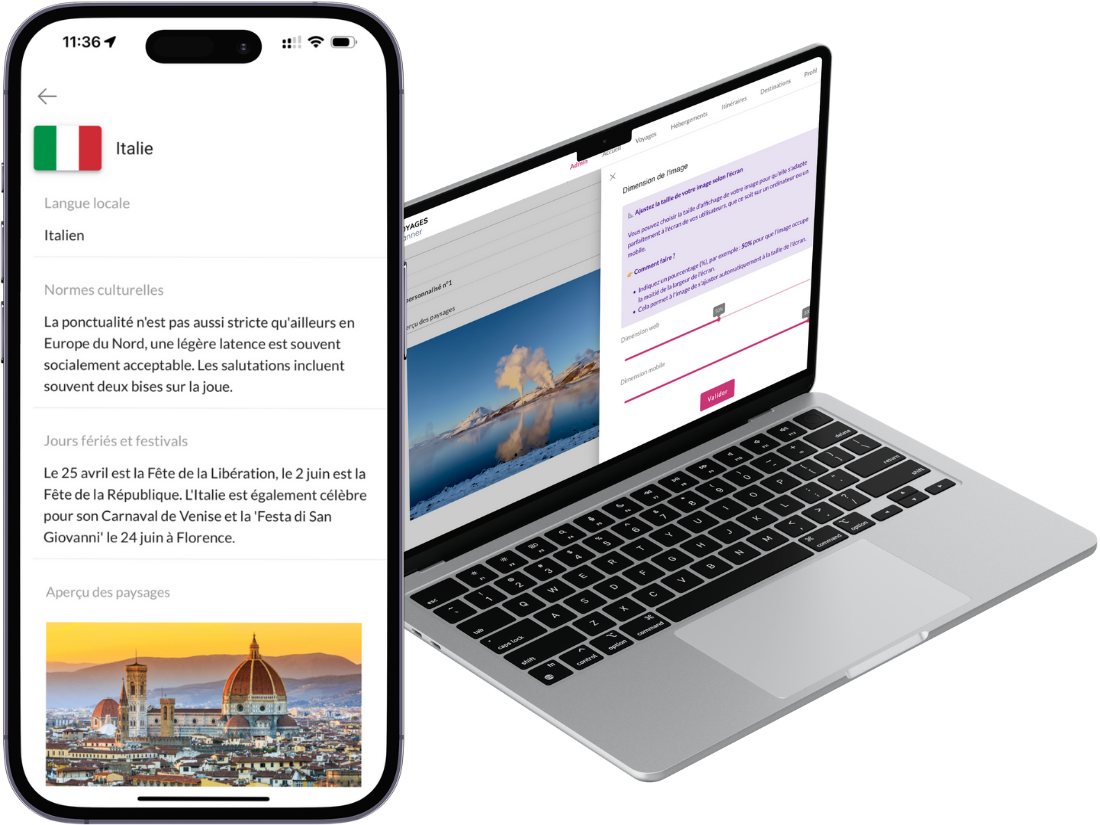
Add a new destination
The Destinations section lets you create country-specific pages enriched with your tips, recommendations, and practical information.
These destination sheets are automatically added to the travel guides of all your clients visiting those countries.
-
Go to the “Admin interface” menu and navigate to the “Destinations” section.
-
Use the search bar:
-
If the destination already exists, search for it and click the three dots on the right to edit.
-
If it doesn’t exist, click on “Create a new destination”.
-
-
Fill in the destination information.
-
Add one or more custom fields:
-
Insert text, images, links, or emojis.
-
Customize formatting (bold, italic, columns).
-
📌 Click “Confirm” to save.
✅ The destination will automatically appear in the “Destinations” tab when your client has a trip matching that location.
Send the travel guide to your client
-
Review all details in the “Trips,” “Accommodations,” “Itinerary,” and “Destinations” tabs to preview exactly what your client will see.
-
In the “Admin interface” menu, find the relevant client.
-
Click on the three dots next to their name and select “Send access email.”
📩 Your client will receive an email with a link to access their Travel Guide on desktop, tablet, or mobile.
Optimize travel guide creation with templates
Add a content template to your library
The template library lets you create, save, and reuse ready-made content (text, images, links, emojis). These templates can easily be inserted when creating an itinerary.
Create a Content Template
-
Go to the “Admin interface” menu and navigate to the “Library” section.
-
Click on “Create a new library template”.
-
Add a title to easily identify the template.
-
Write and format the content using the editor.
Using the Editor
-
Add content: insert text, images, links, or emojis.
-
Customize formatting: select text to display the toolbar and apply bold, italic, etc.
📌 Click “Confirm” to save your template.
Use a content template in an Itinerary
- Create a new itinerary or edit an existing one.
- In the editor, hover over the left side of a line to display the quick action menu.
- Select “Template from library”.
- A menu opens on the right.
- Choose the desired content template to instantly insert it into your itinerary.

Have an additional question?
If you have any questions that are not covered in this user guide, feel free to check out our FAQ or contact us.
Our team is here to help you Monday to Friday, from 9 AM to 6 PM (Paris time).
You can reach us by email at contact@voyagesplanner.com, or via WhatsApp.